Next, I cut a piece of freezer paper a little larger than the actual Mandala drawing. It doesn't have to be neat, just bigger.
Next, I ironed that piece of freezer paper onto the top of the Mandala I just printed. I used a medium setting on my iron for this step.
Here you can see the freezer paper on top of the original printout. Next, place the paper into your printer, being careful to position it so that it prints the same was as it did before - thus hitting the freezer paper target.
You now have your design printed on the paper side of the freezer paper. Remove it from the printer paper.
Make a quilt sandwich larger than you want your finished mug rug to be - I made mine 10 x 7. Get your machine setup for free motion quilting. [Correct foot, quilting table, threads of choice, lower feed dogs, etc.] Baste around the outer edges of the sandwich to hold it in place. While you are basting, make sure that your tension is perfect, so you don't have to worry about it when you start your free motion quilting.
Center you freezer paper image onto your working area.
IMPORTANT - use a pressing sheet to protect your iron.......Iron the image to your mug rug top.
Following the design on the freezer paper, begin free motion quilting through the freezer paper. Pay attention that you don't miss any spots. If you do though, you can fix it after you remove the paper if it is noticeable.
Relax and have fun with the quilting - this is a mug rug - it is a learning experience! Your thread line will NOT match the drawing exactly, but once you remove the drawing you won't know where the original drawing lines were. Use a little creative license as well, you don't have to use every single aspect of the drawing - for instance I didn't even attempt to do anything with the dots - too tedious!
If you don't believe me, take if from a professional - I took a class with Sue Nickels once and she doesn't always match the line either - and she has one some amazing quilting ribbons and prizes!
Now, wasn't that fun! Next, remove the freezer paper from you mug rug. Tear off the biggest parts first, then sit down in from of the TV with a pair of tweezers or anything else that helps you finish the task of removing the freezer paper.

When you finish picking the freezer paper off, your studio floor might look something like this. ;-)
The back of your mug rug will look something like this......

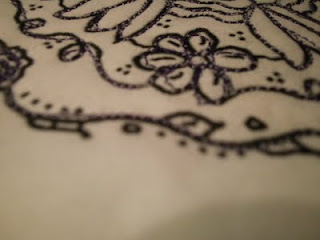
 And the front might look a little like this:
Remember, these mug rugs are about building our skills. Don't write this one off until you try it! The quilting part is a lot of fun.
Until next time - Piece!
Michele Hester


Great Tute Michele!
ReplyDeleteThanks,
Billie in TX